Showing posts with label My Projects. Show all posts

Monday, December 7, 2015

White Pine Collection - Time is Running Out

I spent some time this weekend finishing up my Christmas Cards and making a few more gift tags. I am in LOVE with the My Reflections™ White Pine Collection. I have been able to complete several projects with it, and I really adore the patterns.

Here are a few of the last minute cards I whipped up over the weekend.

Don't miss out on this great collection. There is a paper packet, embellishments, and complements.

There are also two fun kits, one for cards and one for scrapbooking layouts. Both come with exclusive stamp sets you can only get with the kit.

Shop now..... These kits are only available until December 31st, and are while supplies last! Don't miss out.

Monday, August 24, 2015

August Stamp Of The Month Designs

I finally got a chance to sit and play with the August Stamp of The Months Set. How cute is this set? Frames that can be switched up to go with any of the sayings.

I decided to make a few cards using the Zoe Paper Collections. I started out making a Best Wishes card.

My camera doesn't seem to pickup the color a clearly as I would like, because these colors are just gorgeous. I will be shopping for a new camera soon.

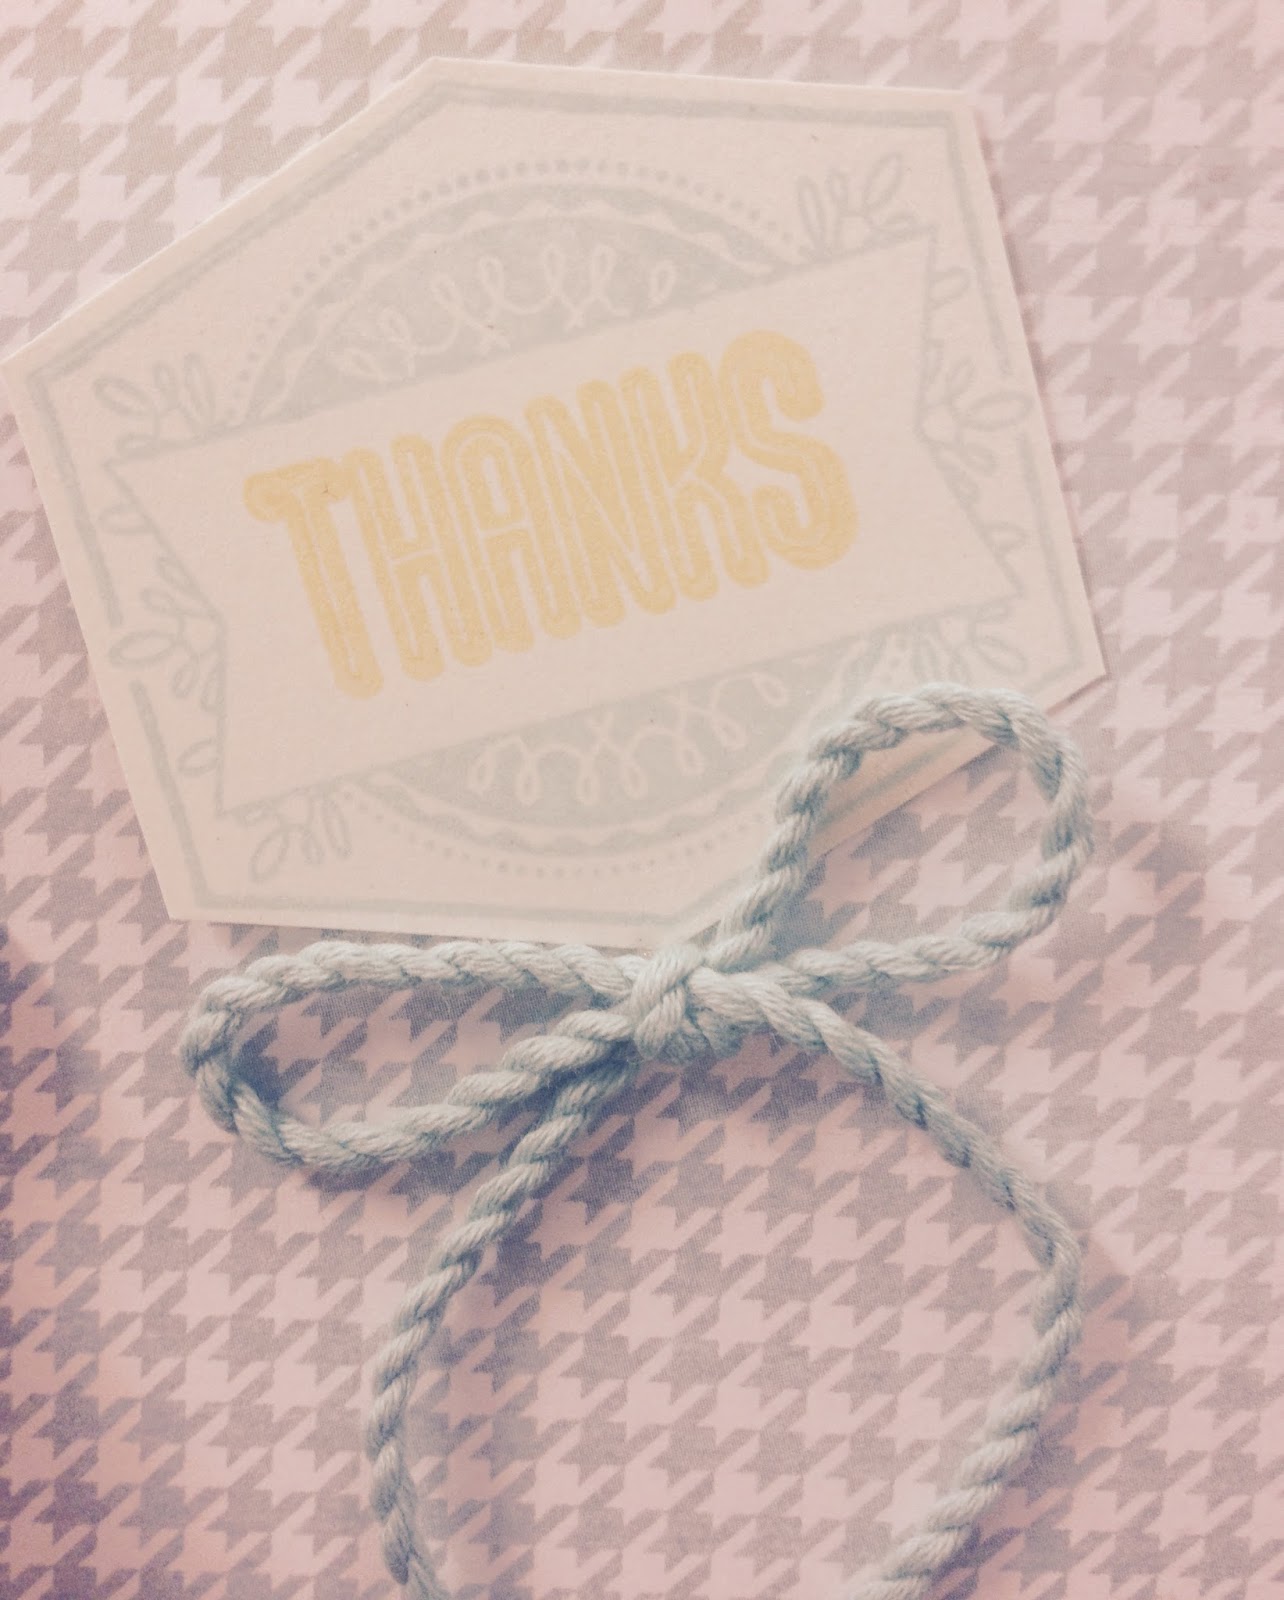
My next card was a Thank You card.

This time I used a piece of the Glacier Hounds Tooth print from the Zoe Collection. I love working with Glacier as a color. It is so versatile. I used a piece of the Glacier Thick Twine to make a bow under the stamp and adhered it with a dot of Liquid Glass.

If you have never used Liquid Glass, this stuff is wonderful. You can use it for so much. It makes stamped eyes glossy looking, because it dries clear, but is also a great adhesive for almost anything.

My last card is a Birthday Card. I wanted to show all three frame styles, and how they can be used with different sentiments, but I didn't have time to use all the sentiments.

The Sorbet and White Dot paper from the Zoe Papers worked well for this and felt festive. Since the Close To My Heart Printed Paper in the Collections comes with a small decorative strip across the top that you have to cut off to make it 12" x 12", I decided to use the strip this time. It was a strip with months and dates on it, so I used it like trim on the card and adhered it going out from the left side of the card.

I hope my simple cards give you some great ideas for what you could do with this stamp set. I know I can never have enough Thank you or Happy Birthday cards on hand.

Card Recipes (all Close To My Heart Products):

All used Colonial White Cards for base 5 1/2" x 4 1/4" (X1410)

Colonial White Cardstock (1388)

and August Framed Stamp Of The Month (S1508)

Best Wishes:

- Sorbet Card Stock (X5751)

- Honeycomb Embossing Folder (Z1995)

- Gold Shimmer Trim (Z1985)

- Whimsy Exclusive Mini Pigment Inks - Sorbet (Z2504)

- Basics Exclusive Mini Pigment Inks - Slate (Z2503)

- Coral Shimmer Trim (Z3088)

- Coral Reef Sequins (Z3042)

- Memory Book Mini Glue Dots (Z341)

Thanks:

- Zoe Collection - Glacier Hounds Tooth Paper (X7197B)

- Whimsy Exclusive Mini Pigment Inks - Glacier and Canary (Z2504)

- Glacier Extra Thick Twine (Z3039)

- Oceanside Sequins (Z3041)

- Liquid Glass (Z679)

- Memory Book Mini Glue Dots (Z341)

Happy Birthday:

- Zoe Collection - Sorbet Dots Paper (X7197B)

- Whimsy Exclusive Mini Pigment Inks - Sweet Pea and Sorbet (Z2504)

Monday, August 17, 2015

Photo Card's

I recently made some photo cards to send to family with a few pictures and some journaling. I think they turned out pretty good, and are a fun way to share your photos.

I started with a 12x12 piece of card stock. Each card is made from one piece of card stock. I used CTMH Glacier and Juniper. Then trim the card stock to 12x10. On the 10" side, score at the 5" mark. Then from the 12" side, score at 4.5" and 9". Your card stock will now be 12" wide by 10" tall. The top and bottom halves are mirror images. With the score lines as dividers, you should have (from left to right) two 4.5"x 5" sections and a 3" x 5" section on the top and bottom halves. You can cut the left side top 4.5" x 5" section out. Now cut the top right 3"x 5" section out. The remaining top middle section is the flap.

Below is a photo of how your paper will look after you score it. The areas that are X'ed out, are the areas you will cut out.

Now that you have the basic card cut out, you can decorate and embellish as you wish. I used the CTMH Seaside Collection.

I decided to design my photo cards with a pocket on the little flap so I could tuck in a tag or another photo.

I love the soft colors and the cute metal embellishments.

I placed one of the Seaside Complements stickers on the back, just to give it a finished look.

I hope you enjoyed my photo cards. I think the idea would be great for a Christmas card or even a Birthday card. You could tuck a gift card into the little pocket on the small flap too.

Monday, August 10, 2015

Zoe Layout

I was very excited to start working with the Zoe paper and embellishments. I decided to work on a layout to use for my son's first day of school pictures. The white spaces will be for his pictures.

Recipe:

Close To My Heart's Zoe Collection

Zoe Complements (X7197C)

Zoe Workshop on the Go(G1096)which includes:

- My Reflections Zoe Paper Packet (X7197B)

- My reflections Zoe Workshop Stamp Set (exclusive to the WOTG kit)

- 3 White Daisy Cardstock Sheets ((1385)

- Zoe Assortment (Z3082)

- Coral Shimmer Trim (Z3088)

You can shop for all of these items at www.lisafaris.ctmh.com

I would love to see what you create!