I started with a 12x12 piece of card stock. Each card is made from one piece of card stock. I used CTMH Glacier and Juniper. Then trim the card stock to 12x10. On the 10" side, score at the 5" mark. Then from the 12" side, score at 4.5" and 9". Your card stock will now be 12" wide by 10" tall. The top and bottom halves are mirror images. With the score lines as dividers, you should have (from left to right) two 4.5"x 5" sections and a 3" x 5" section on the top and bottom halves. You can cut the left side top 4.5" x 5" section out. Now cut the top right 3"x 5" section out. The remaining top middle section is the flap.
Below is a photo of how your paper will look after you score it. The areas that are X'ed out, are the areas you will cut out.
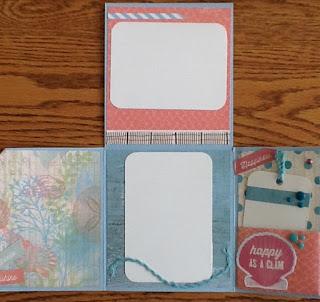
Now that you have the basic card cut out, you can decorate and embellish as you wish. I used the CTMH Seaside Collection.
I decided to design my photo cards with a pocket on the little flap so I could tuck in a tag or another photo.
I love the soft colors and the cute metal embellishments.
I placed one of the Seaside Complements stickers on the back, just to give it a finished look.
I hope you enjoyed my photo cards. I think the idea would be great for a Christmas card or even a Birthday card. You could tuck a gift card into the little pocket on the small flap too.


No comments:
Post a Comment